A photography lesson in Three Bridges Park
August 25, 2020 | Topics: Articles
By Eddee Daniel
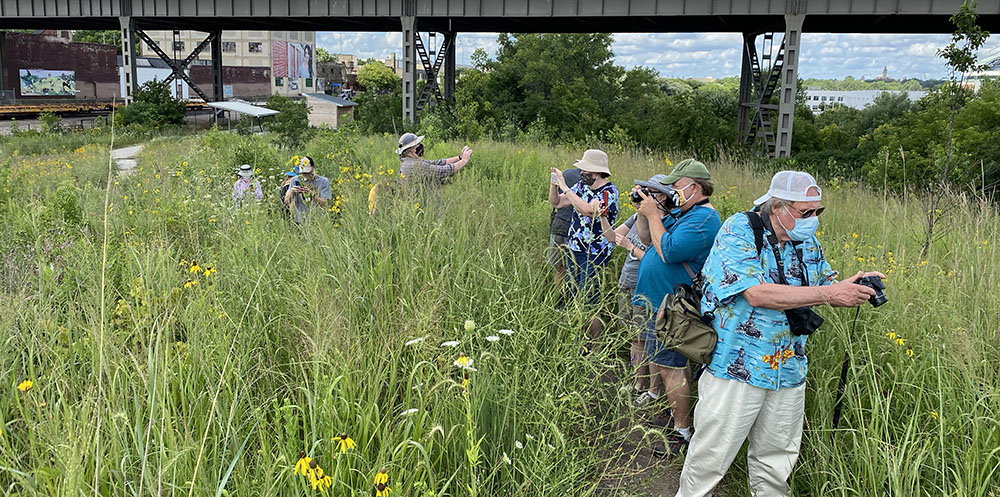
Scheduling any outdoor activity months in advance is always a gamble; the weather might ruin things. But that day we won the lottery! It was a beautiful summer day with magnificent clouds. My first piece of advice to the group: Take advantage of the clouds; they are a gift!
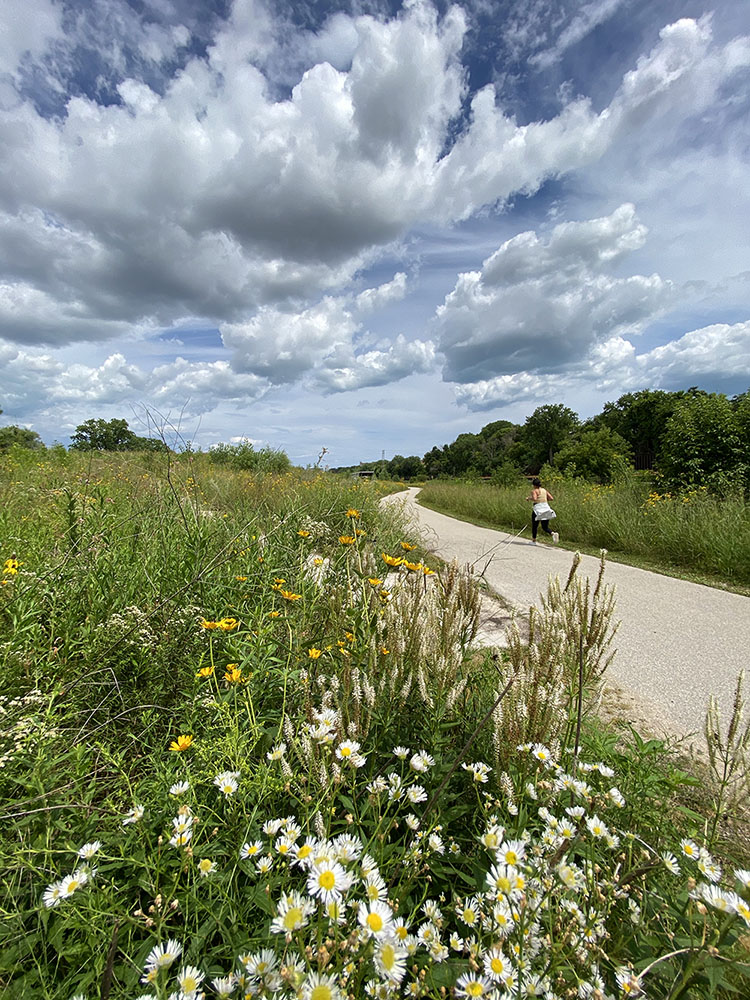
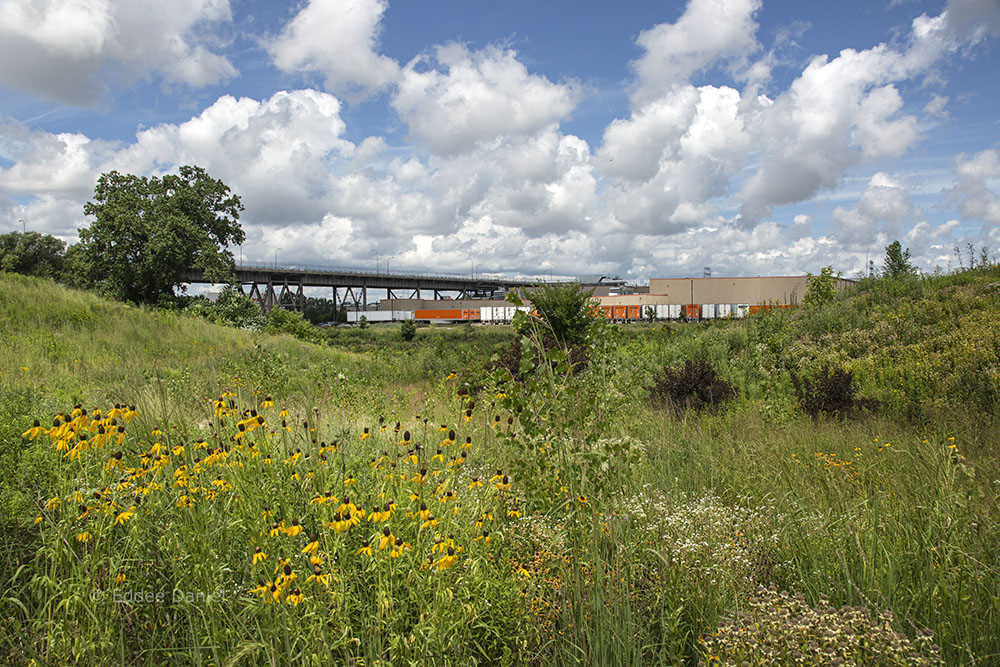
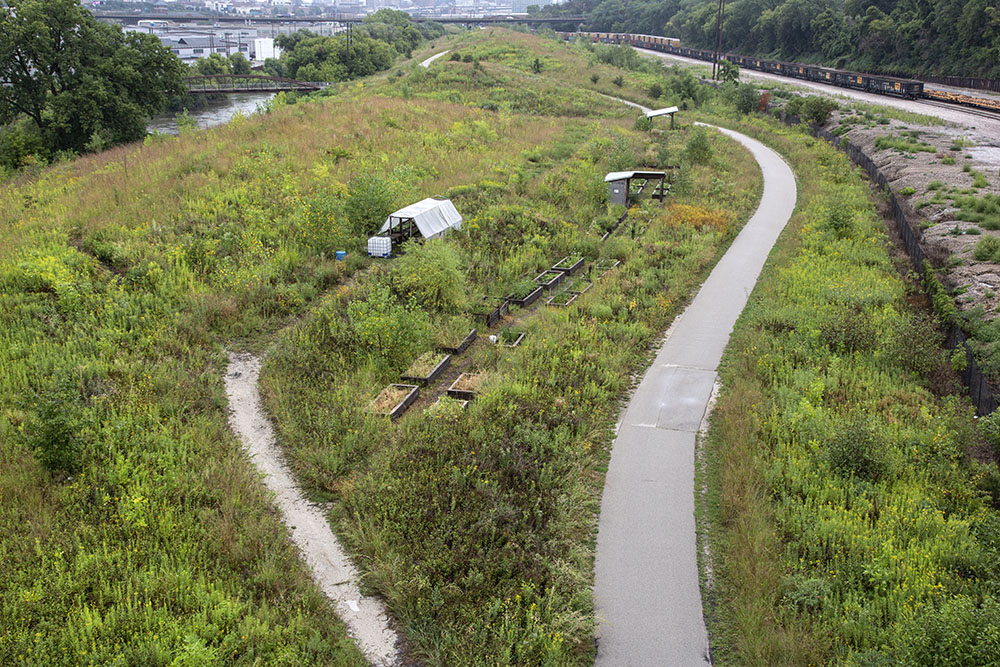
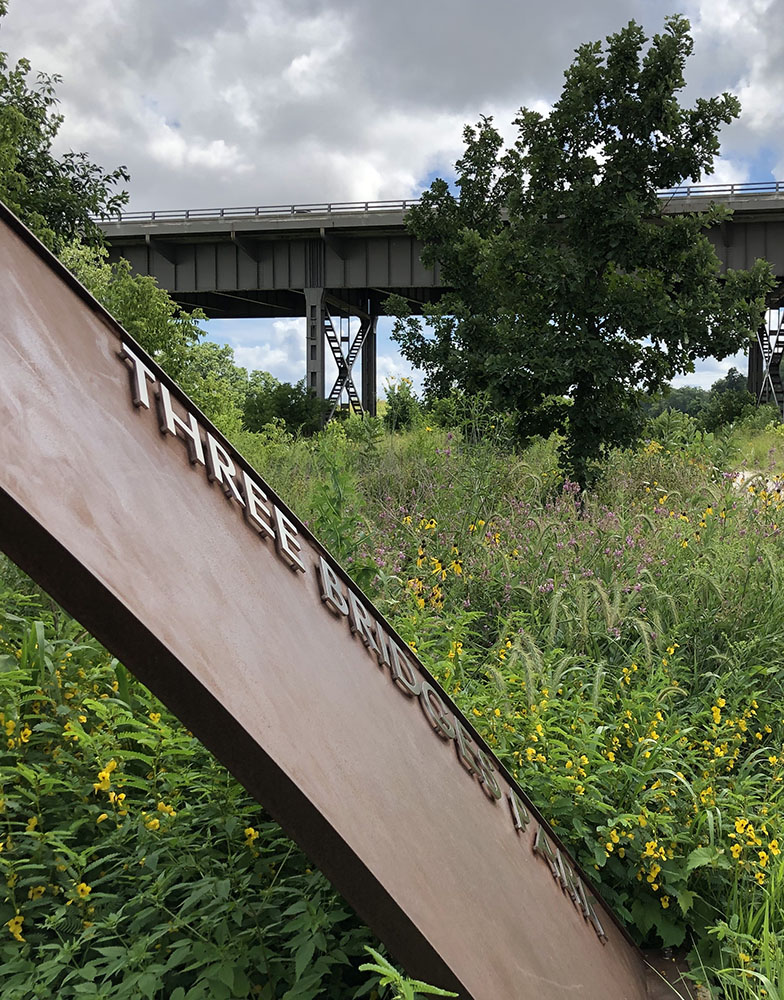
I was asked by the Natural Resources Foundation to lead a hike with the theme, “Urban Nature Photography.” I chose one of my favorite places in Milwaukee: Three Bridges Park. Not only does Three Bridges Park offer plenty in the way of flora and natural scenery, but because it’s located in the Menomonee Valley it also offers marvelous juxtapositions of natural scenery with its industrial and urban surroundings.
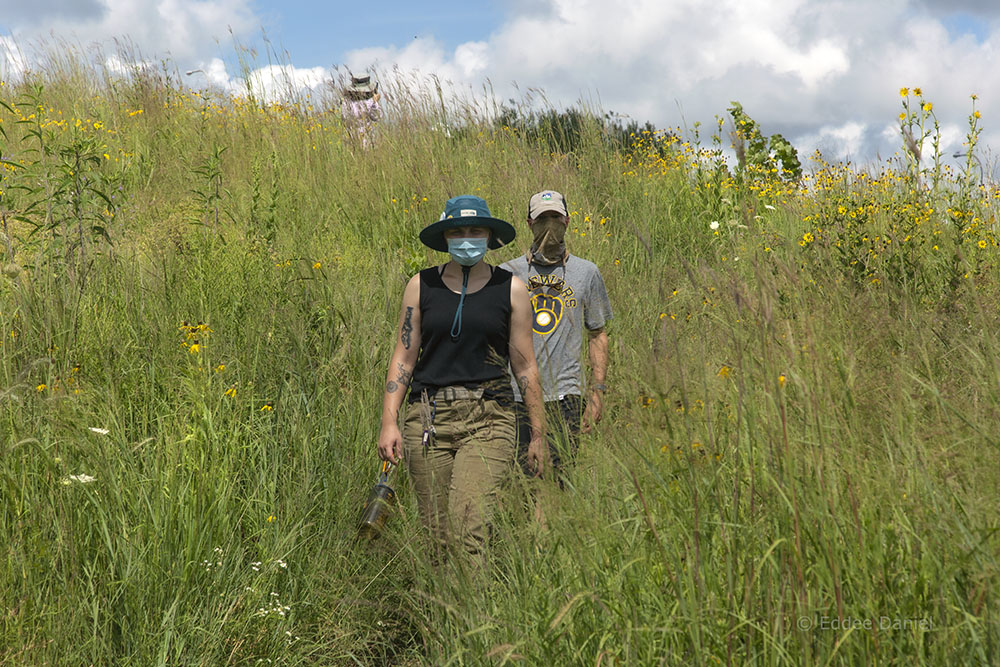
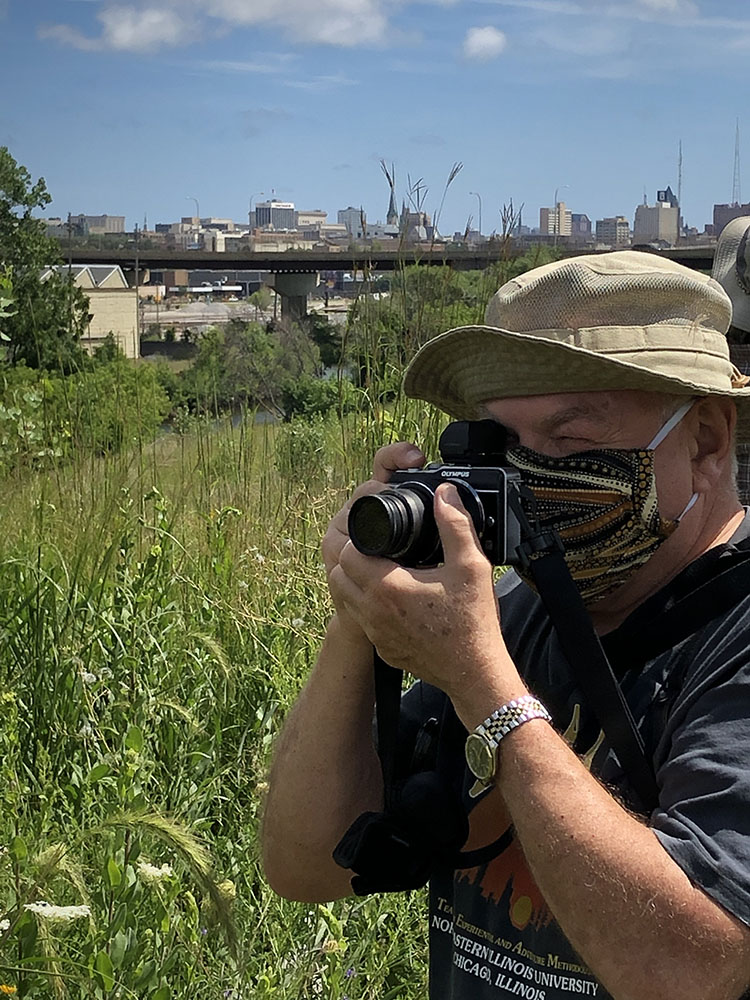
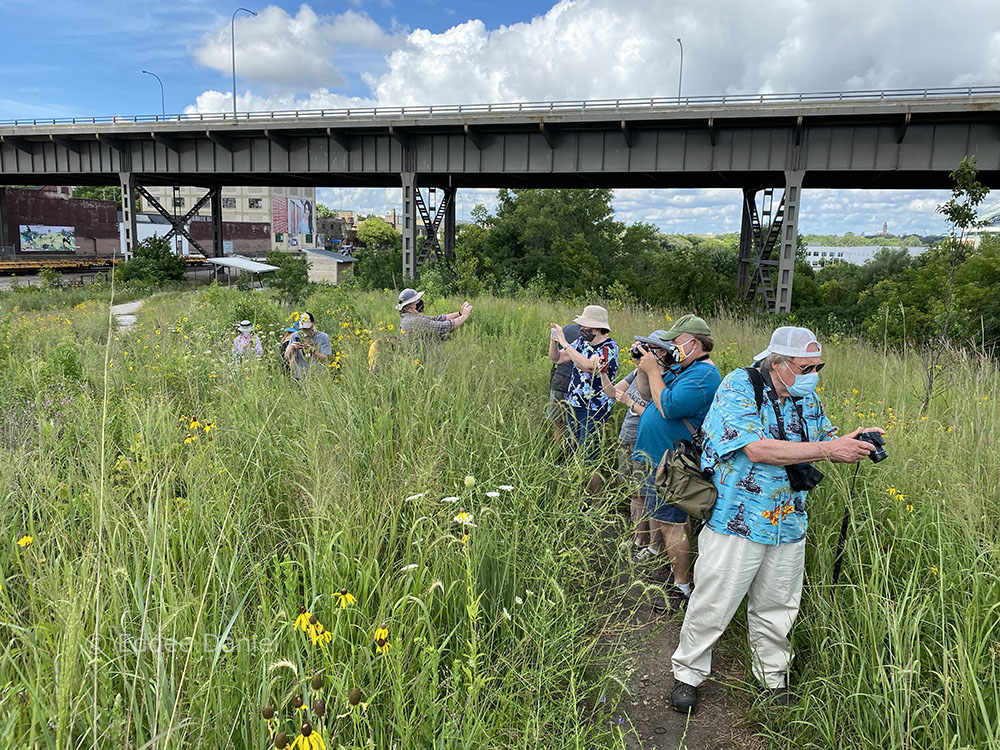
Eight photography and nature lovers participated. (I was also grateful to be joined by Jeff Veglahn and Laura, one of his summer interns. Jeff is the Land Steward for the Menomonee Valley Branch of the Urban Ecology Center, which is located next to Three Bridges Park.) There were a wide variety of cameras, including some which doubled as cell phones. I don’t know how many photos the group took; they certainly seemed to be taking plenty the whole two hours of the hike. I took quite a few myself (mostly before and after) but instead of simply showing them in the typical photo essay, I thought I’d present them in an abridged version of what I shared with the group in the hope of improving their photographic skills.
LESSON #1: Choose a subject thoughtfully
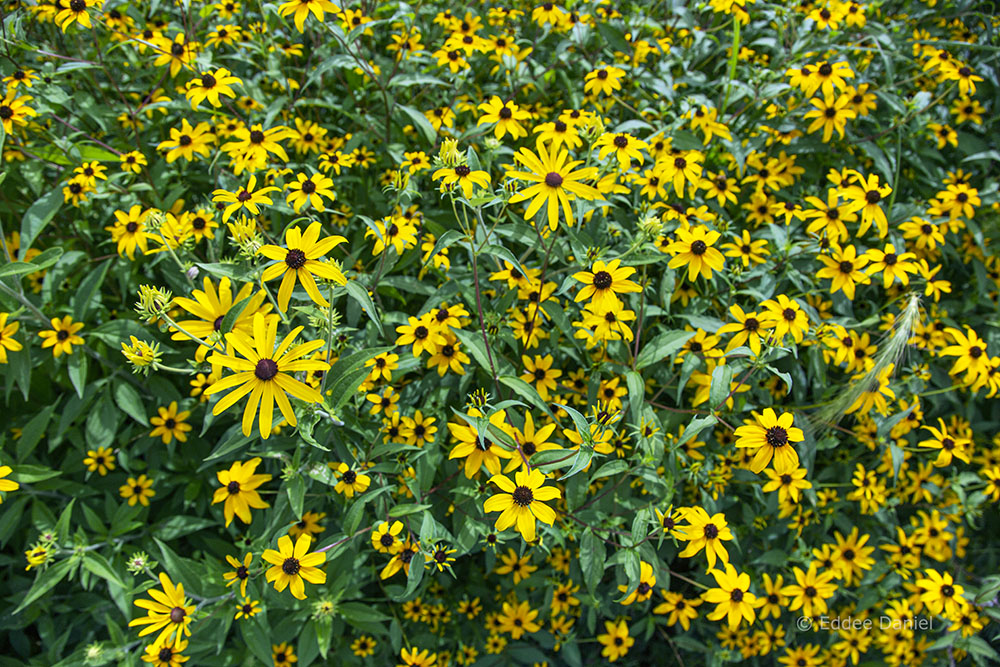
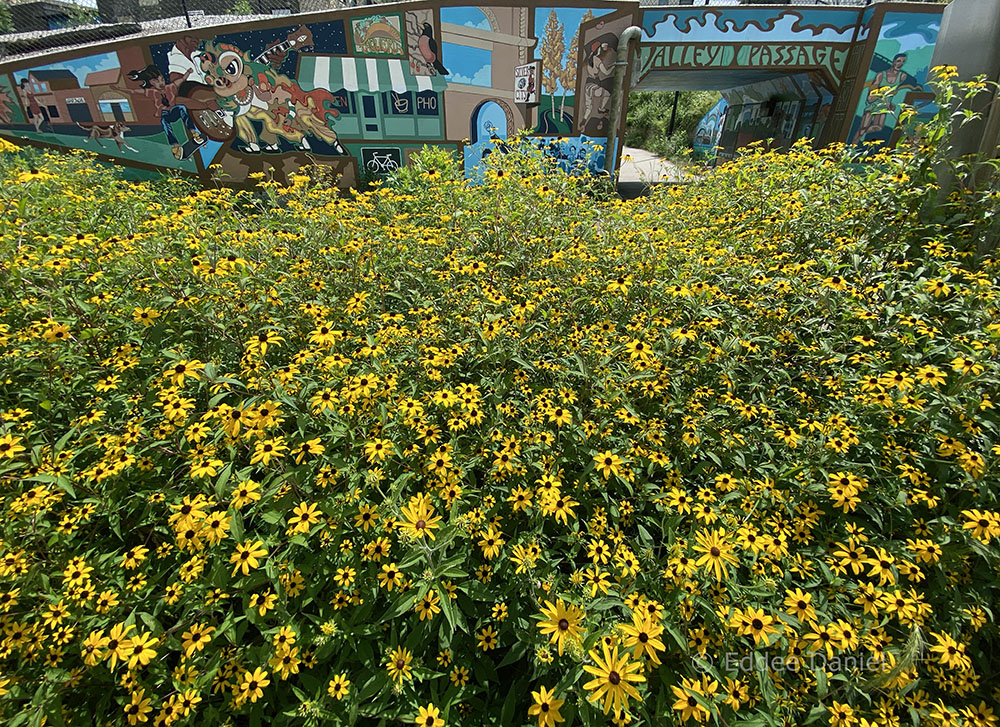
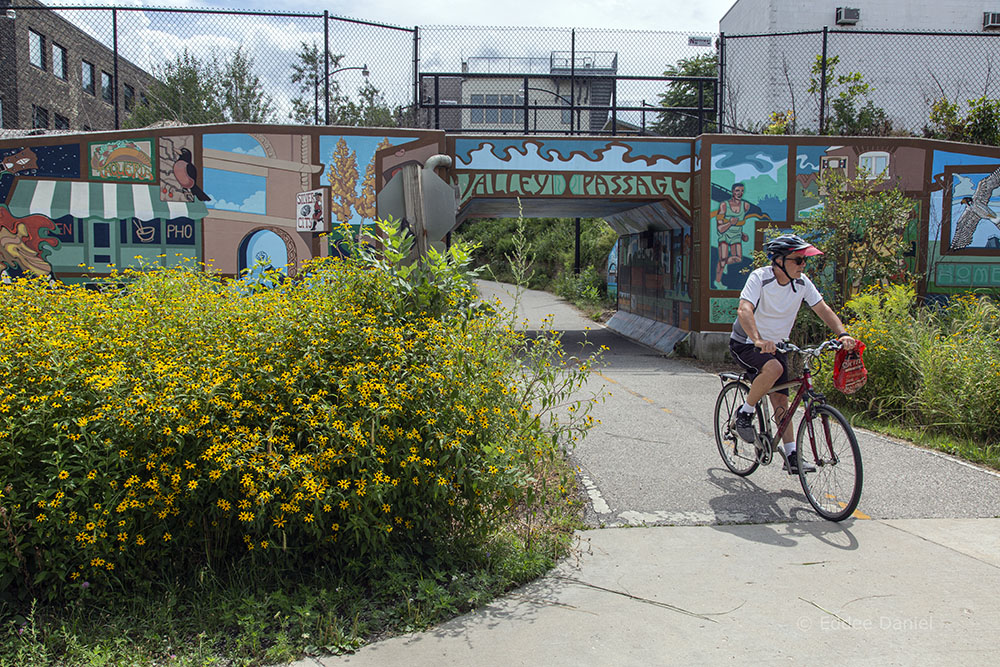
This most fundamental of decisions is not necessarily as simple as it sounds. If you’re not completely clear what your specific subject is, your picture is not likely to be as clear as it could be either. As an example, compare the following three images. We began our photographic hike at the west end of Three Bridges Park, where the Valley Passage tunnel and bridge are located. I selected these three from the dozen or so shots I took from essentially the same spot, in front of an enormous patch of brown-eyed Susans.
LESSON #2: Experiment with different points of view
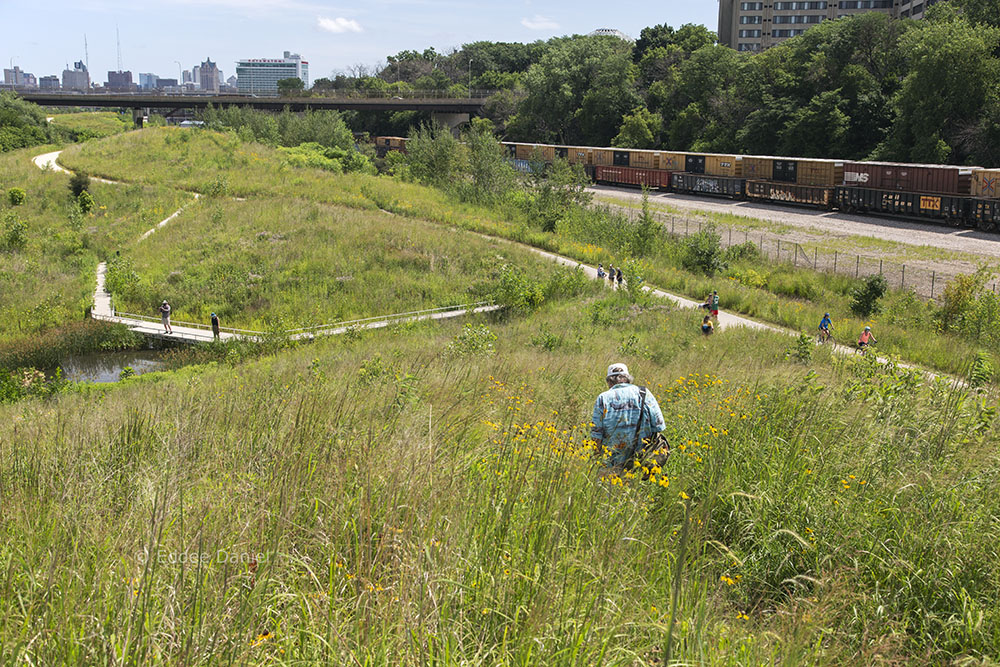
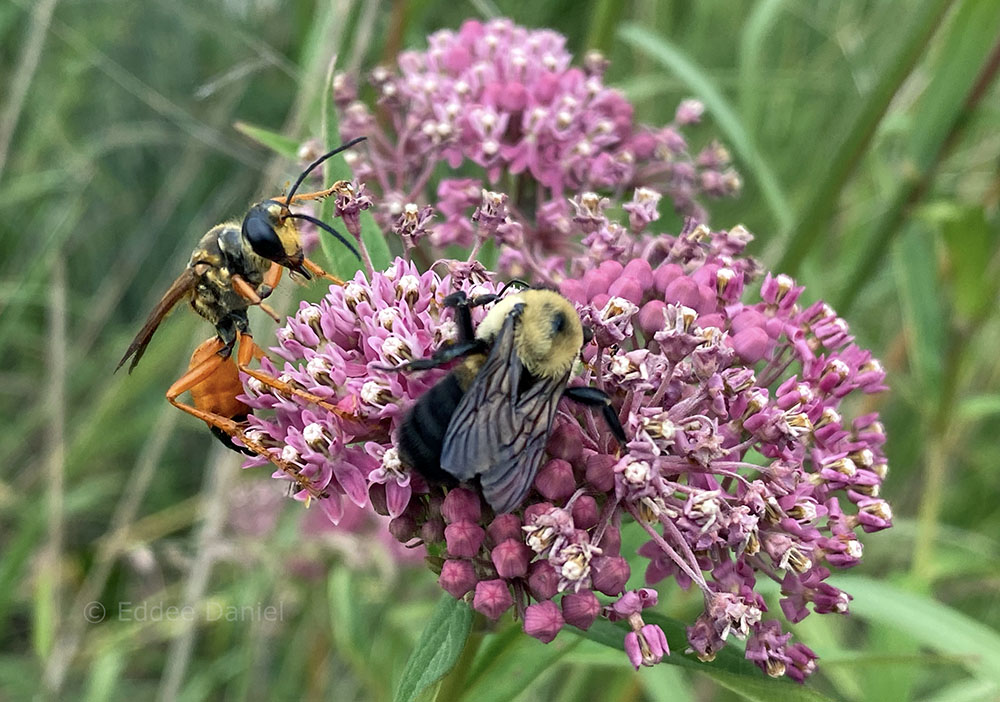
Looking down, looking up, getting close, standing back, head-on, and at an oblique angle are all just examples of the innumerable ways to achieve an effective perspective on your subject.
LESSON #3: Take advantage of your equipment
This depends upon what kinds of equipment you have available to you. A wide-angle lens provides a very different view and photographic experience than a telephoto lens, for example. The latest cellphone technology offers remarkable opportunities for creative control.
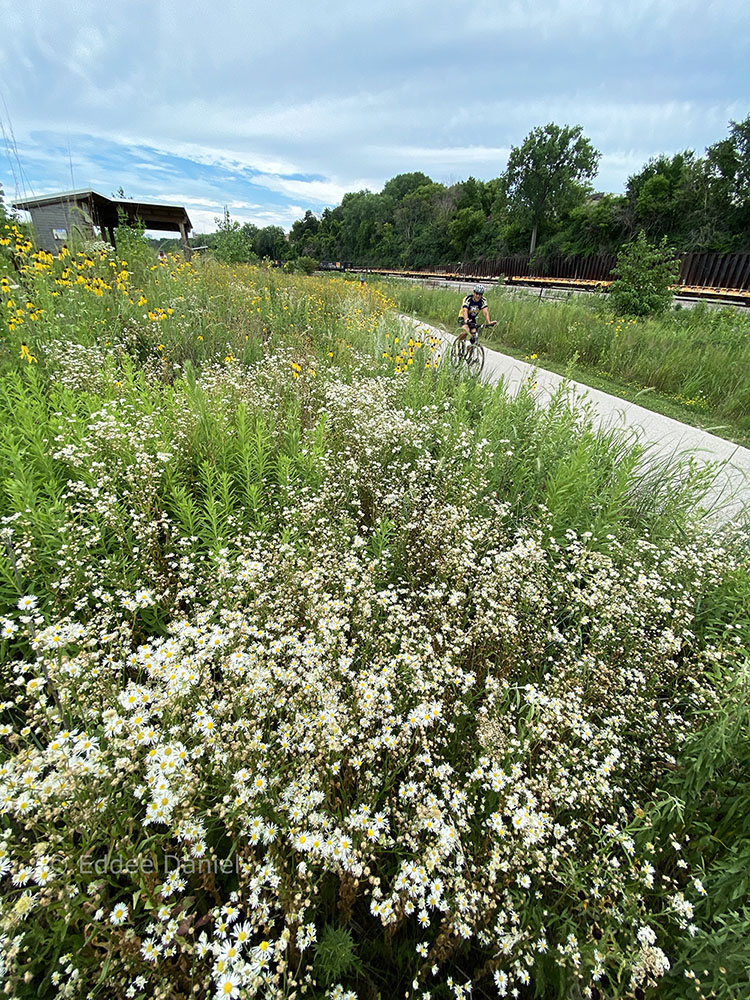
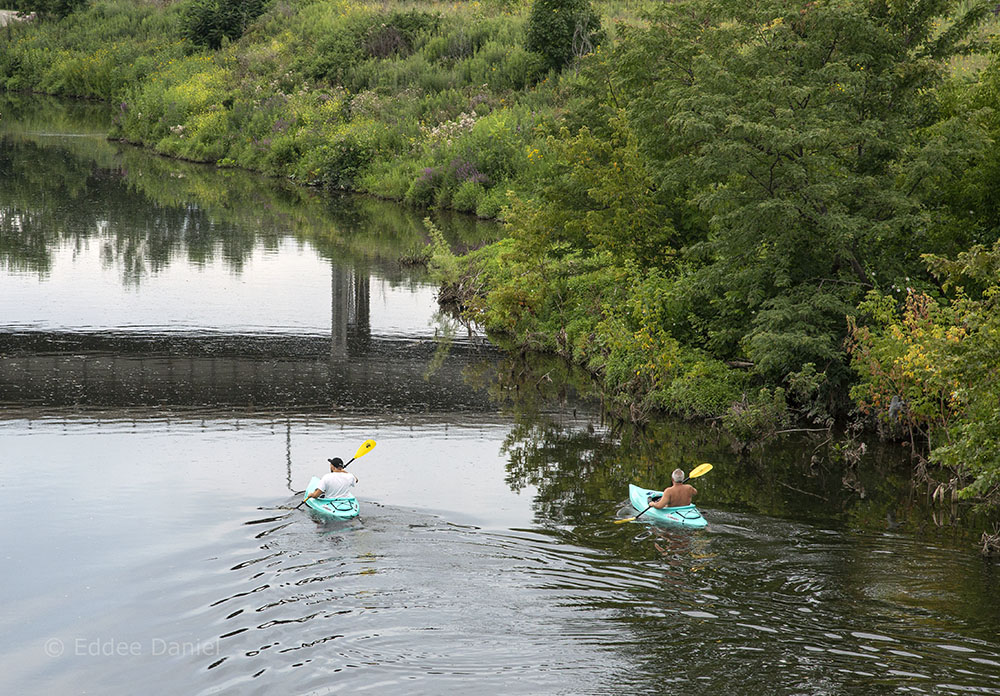

LESSON #4: Consider the “human element”
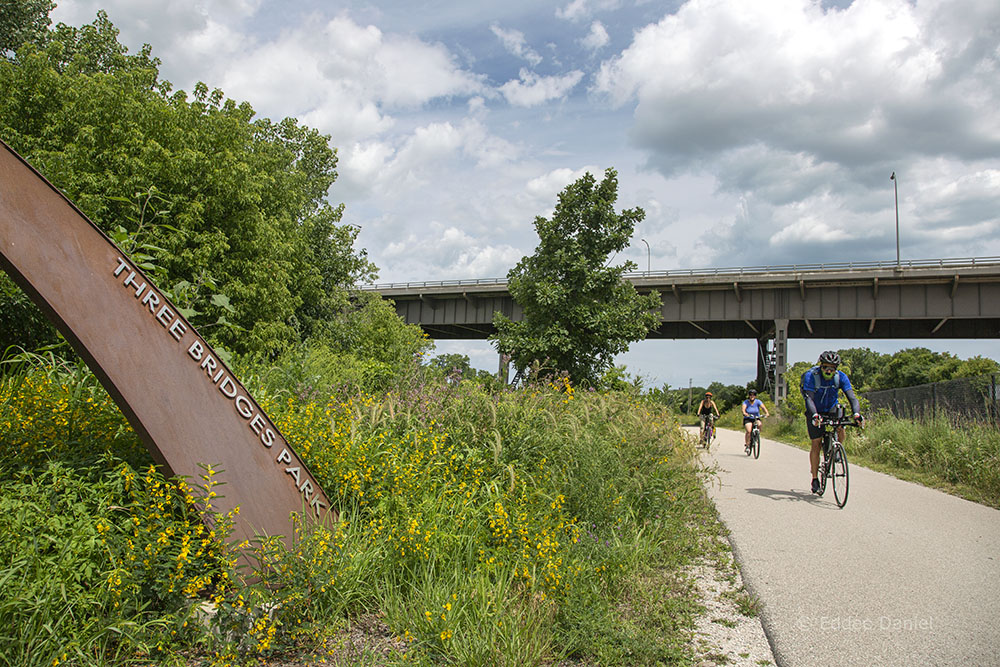
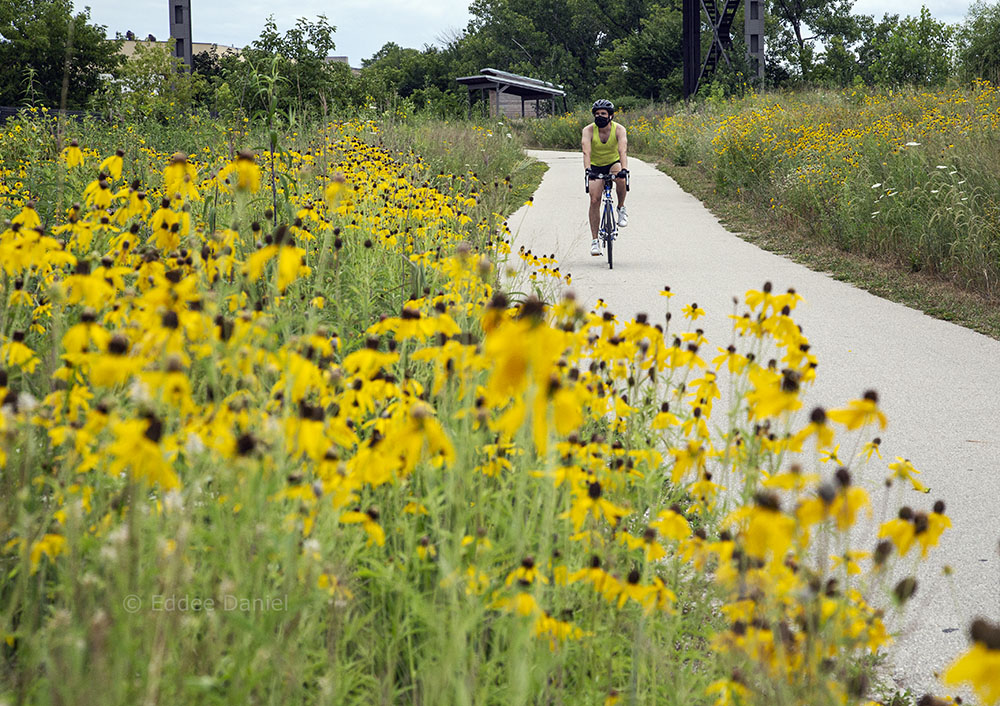
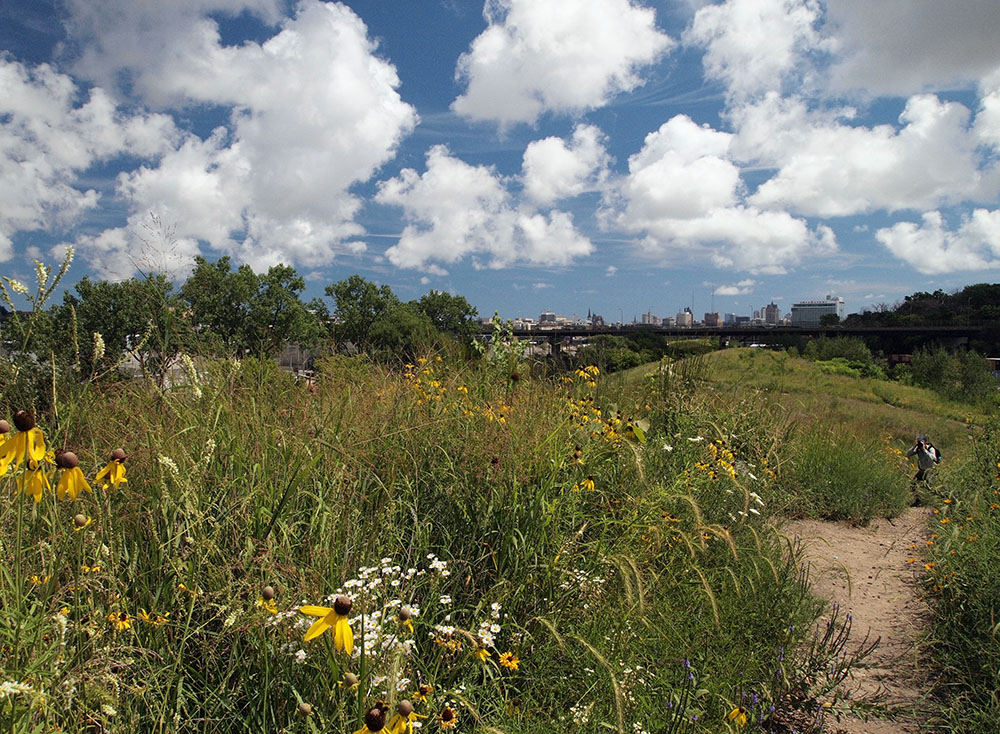
People are inherently interesting and including a person in a scene, no matter how large or small, can significantly improve it. In the first two images that follow the people are arguably “the subject,” while in the next two images they are merely elements in the larger composition. Try to imagine those scenes without the cyclists and I think you’ll agree that they would be less effective or interesting.
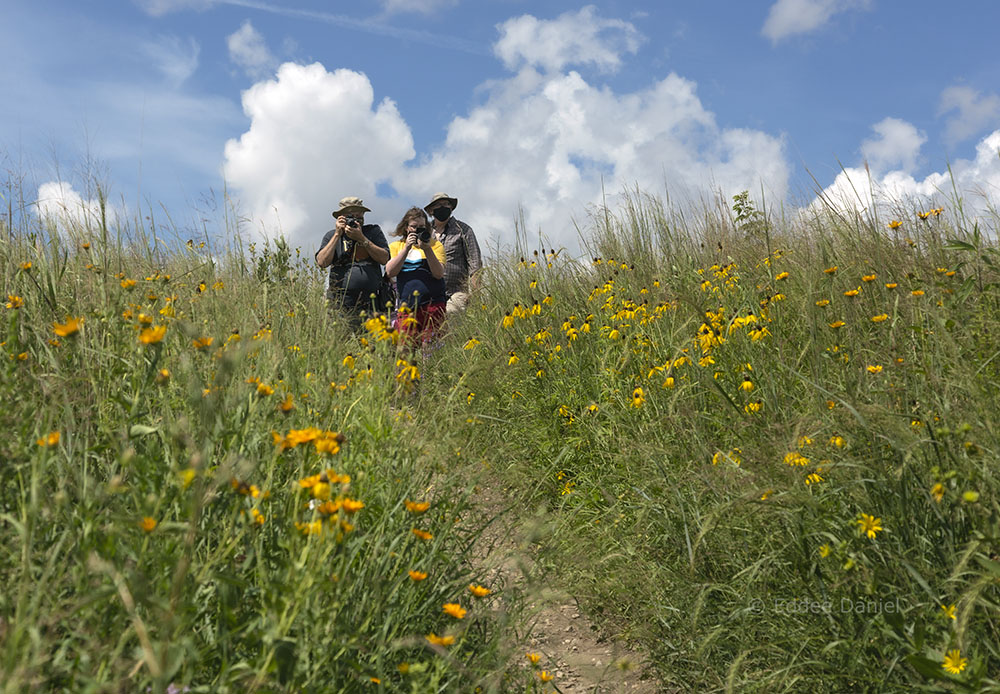
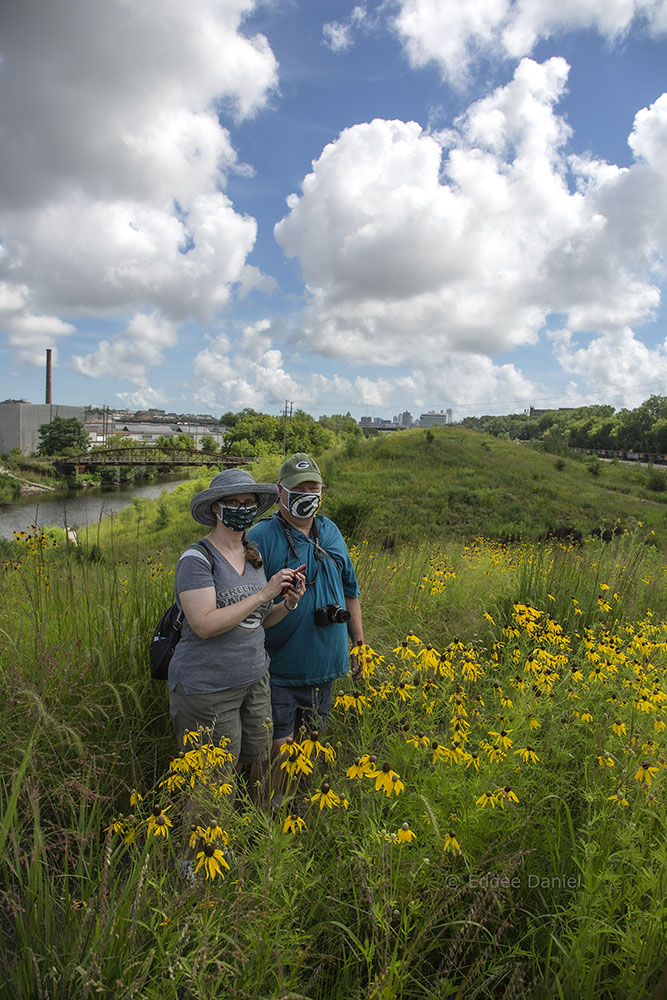
LESSON #5: “If your pictures aren’t good enough, you’re not close enough”
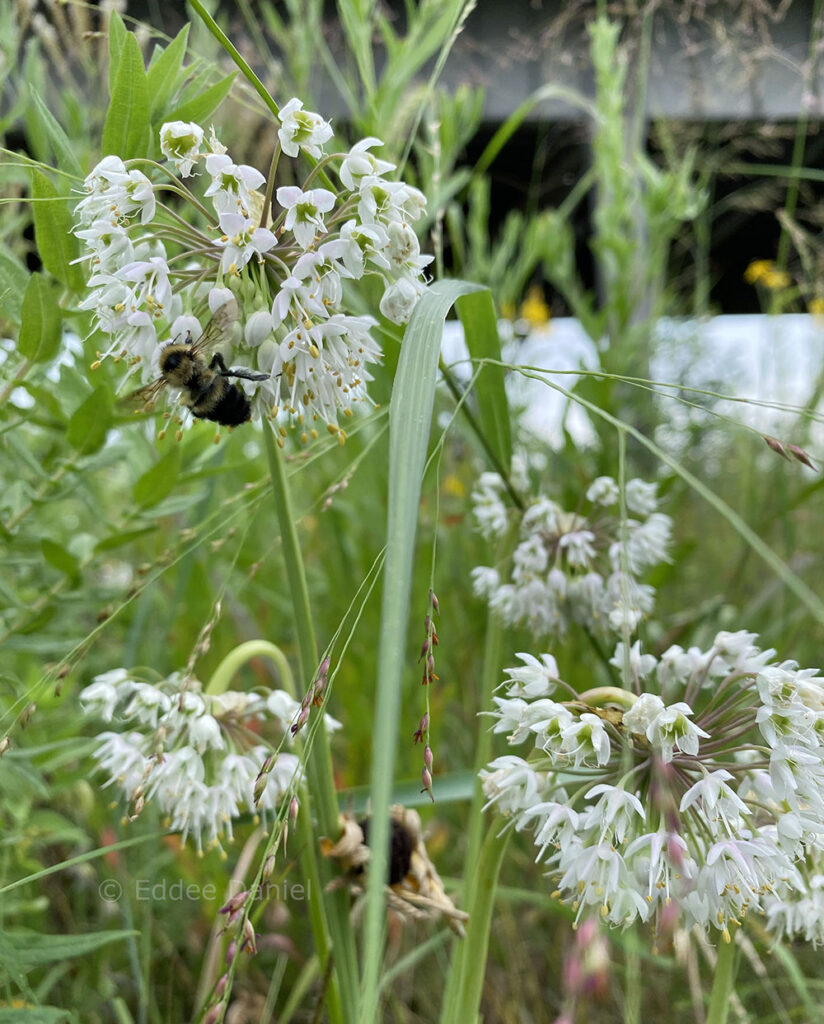
This is a fairly well-known quote by legendary Magnum photographer Robert Capa. The intent of his comment is not to get you to use a telephoto lens but to physically get close to your subjects or to immerse yourself in your subject.
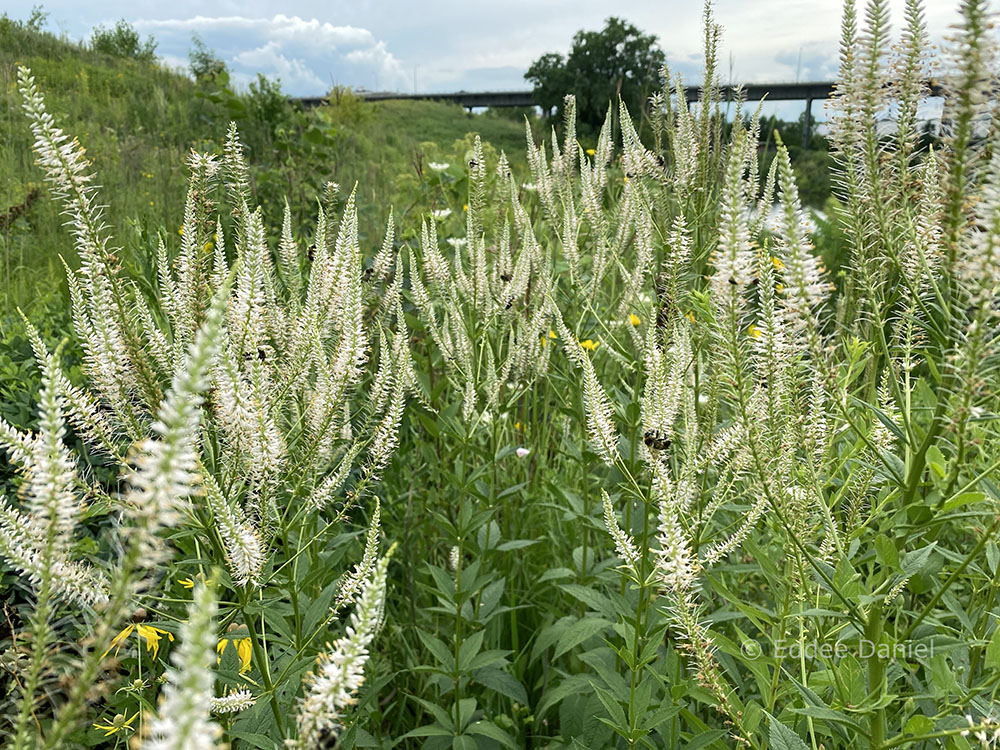
Finally, I’ll give the last spots to the participants who submitted work to me. At the conclusion of the hike I suggested that each participant select a few of their favorite images from the hike and email them to me so that I could include them in a blog post. These are the two who did so. You’ve seen one of Jean’s already. Here is another and two from her husband, Harold.

Note: Urban Nature Photography was one of the many outings offered this year by the Natural Resources Foundation of Wisconsin. To learn more about their offerings check out the 2020 Field Trip Guidebook on their website.
The Natural Resources Foundation of Wisconsin, the Urban Ecology Center, and Friends of Hank Aaron State Trail are all project partners of A Wealth of Nature.
All images by Eddee Daniel, except as noted. Eddee is the Project Director of A Wealth of Nature, a board member of Preserve Our Parks and Friends of Hank Aaron State Trail, and a former teacher of photography. His personal website is eddeedaniel.com and you can see more of his photos of Three Bridges Park in his Flickr album.

